
Similar to Messenger, Viber is also one of the popular free calling and messaging applications. This article will show you how to download, install and use Viber simply. Let’s consult now!
What is Viber?
Viber is a cross-platform VoIP based instant messaging software developed by Viber Media for smartphones used to text and make calls over the internet. Along with text messages, users can exchange images, videos, and audio. The software is available for Mac OS, Android, BlackBerry OS, iOS, Series 40, Symbian, Bada, Windows Phone and Microsoft Windows and a Linux version is in development. Viber connects to both 3G/4G and Wi-Fi networks.
On May 7, 2013, Viber reached over 200 million users.
On February 14, 2014, Viber was acquired by Rakuten, a Japanese online business company, for $900 million.
How to download and install Viber
For computer
Step 1: Visit Viber download site HERE.
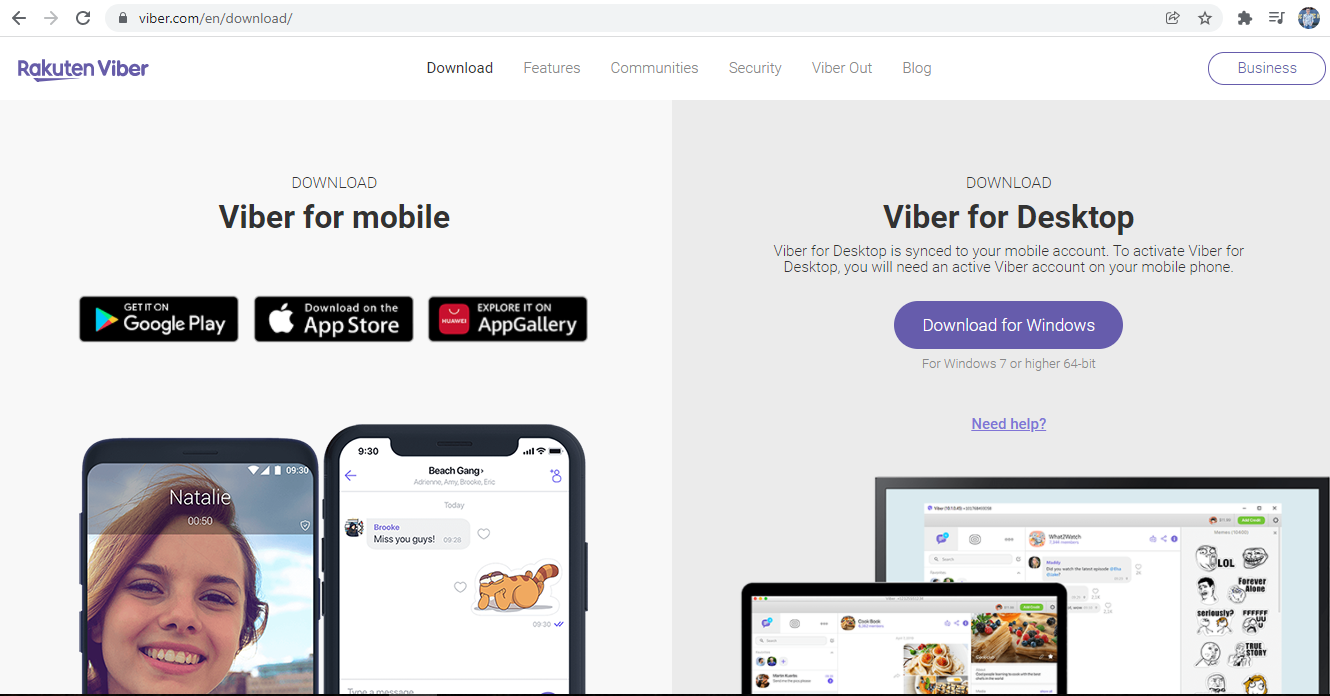
Step 2: Download Viber to your computer.
- If using a Windows computer, click Download for Windows.
- You can also do the same with MacBook.
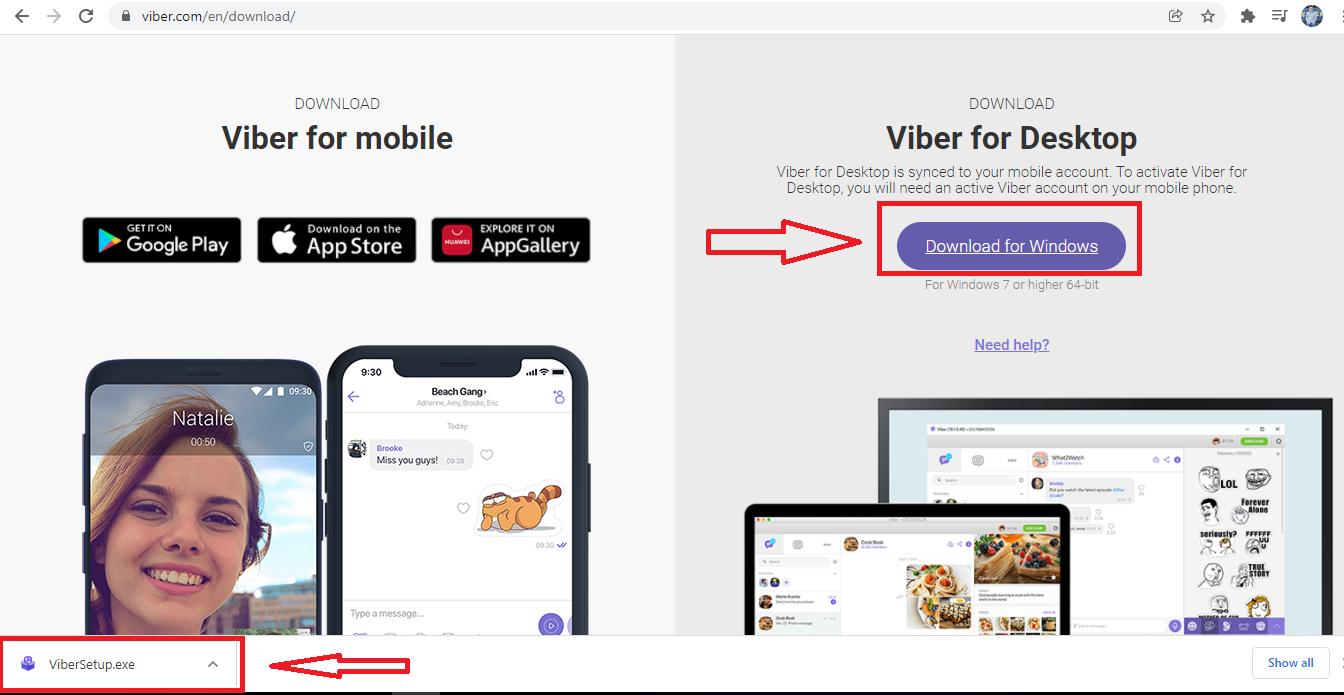
Step 3: Double click on the newly downloaded ViberSetup.exe file.

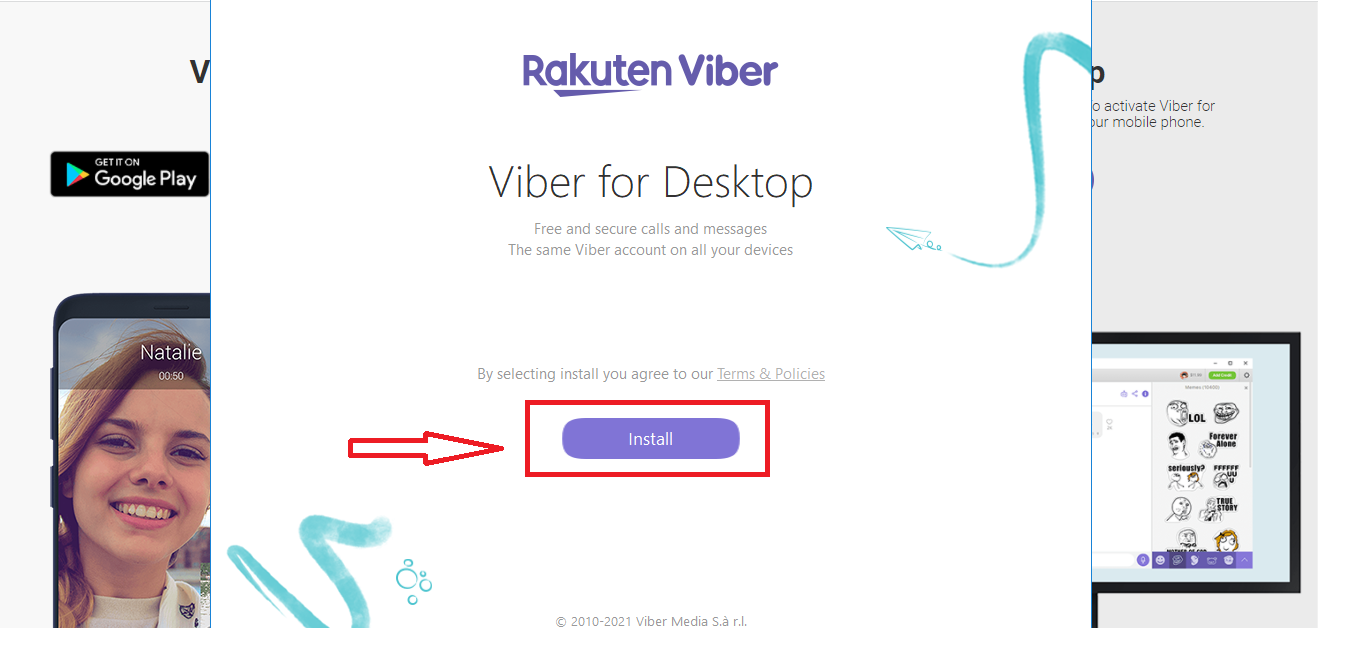
Step 4: At the new interface that appears, select “Install”.
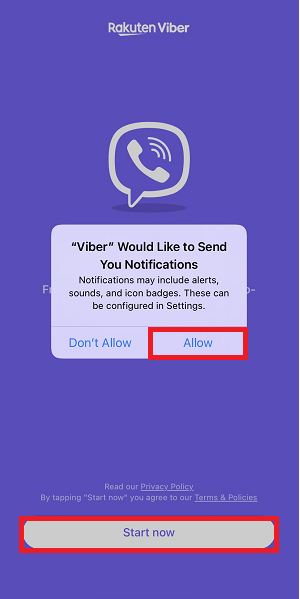
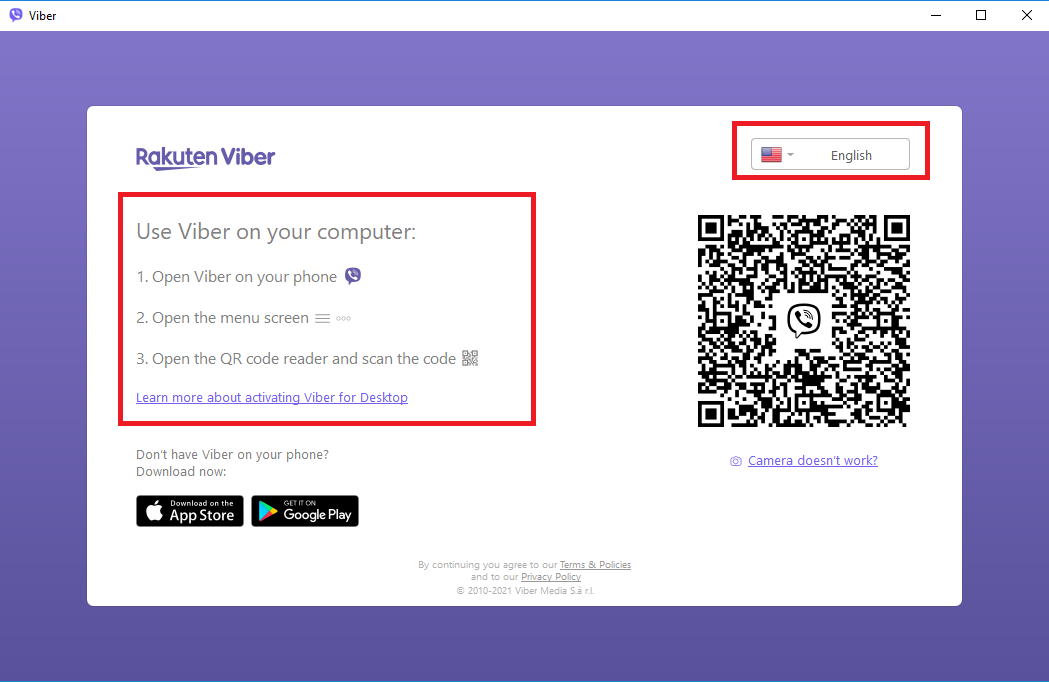
You need to wait for your computer to install, then the Viber interface will appear > Read some Viber notifications > Select the language.
How to register for a Viber account
To use Viber’s features you need to log in to your account. If you already have a Viber account then you just need to log in to your Viber account. If you are a first-time Viber user and do not have an account, you need to register for a Viber account.
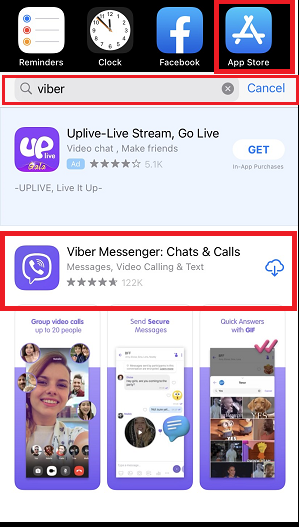
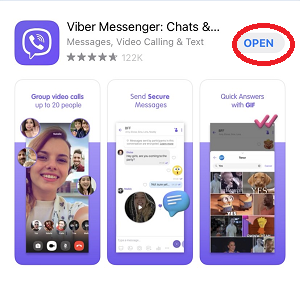
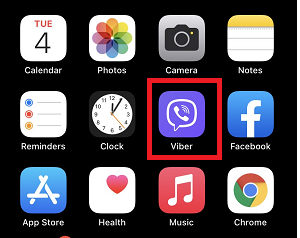
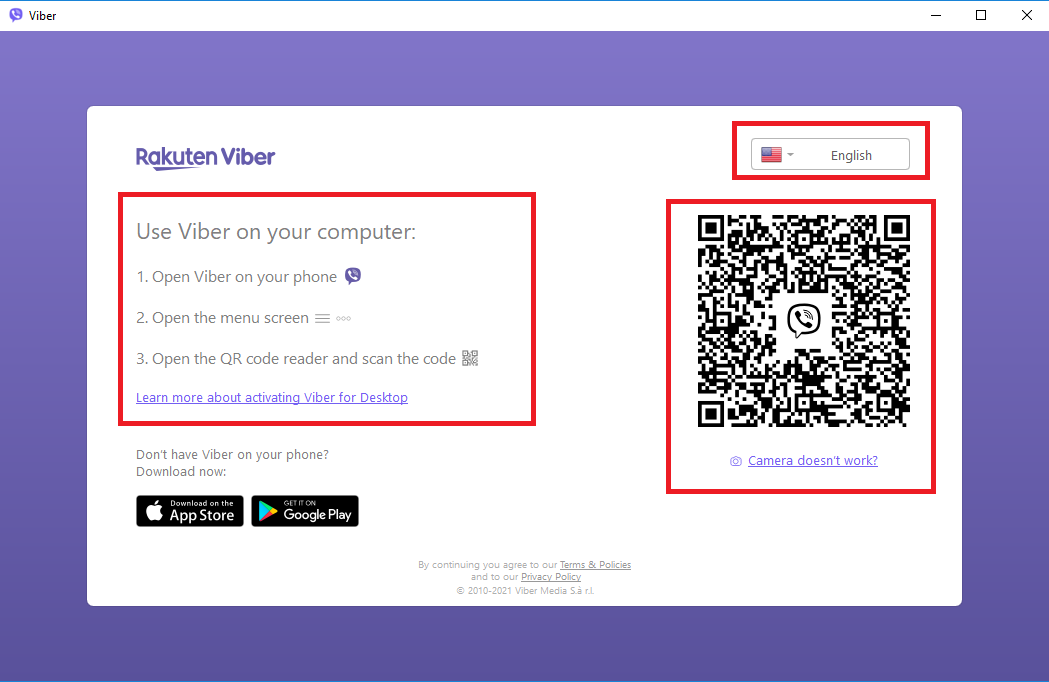
Step 1: You access the Viber application on your device.
Step 2: At the application interface, you choose to register.
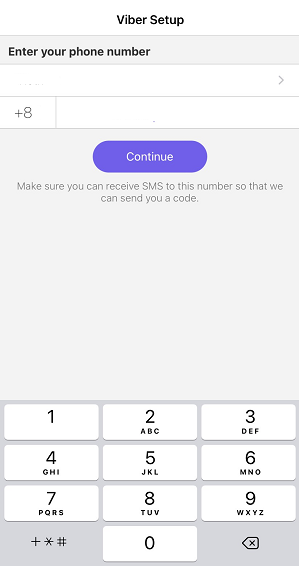
Step 3: You choose the country area code. If the country is Sweden, select the area code (+46), if the country is the US, select the area code (+1) and enter the phone number you use to register your account.
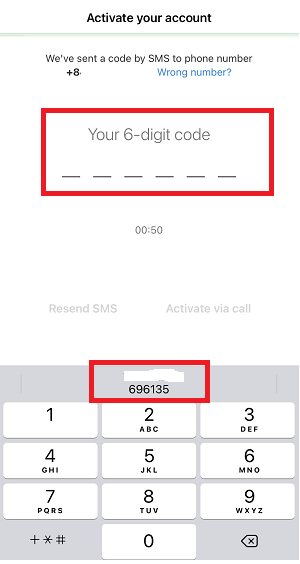
Step 4: At the next interface, Viber will send a code by text message to the phone number you used to register to confirm.
Please enter the confirmation code in the box. Then wait for Viber to perform the activation process to create a new account.
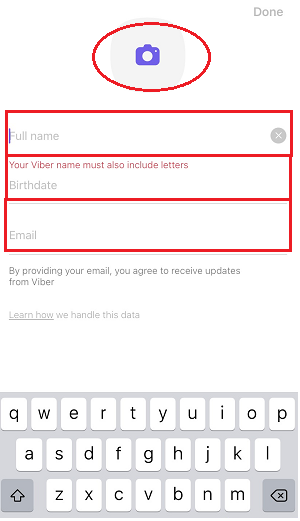
Step 5: Next, you fill out all the information including your name, date of birth, and contact email.
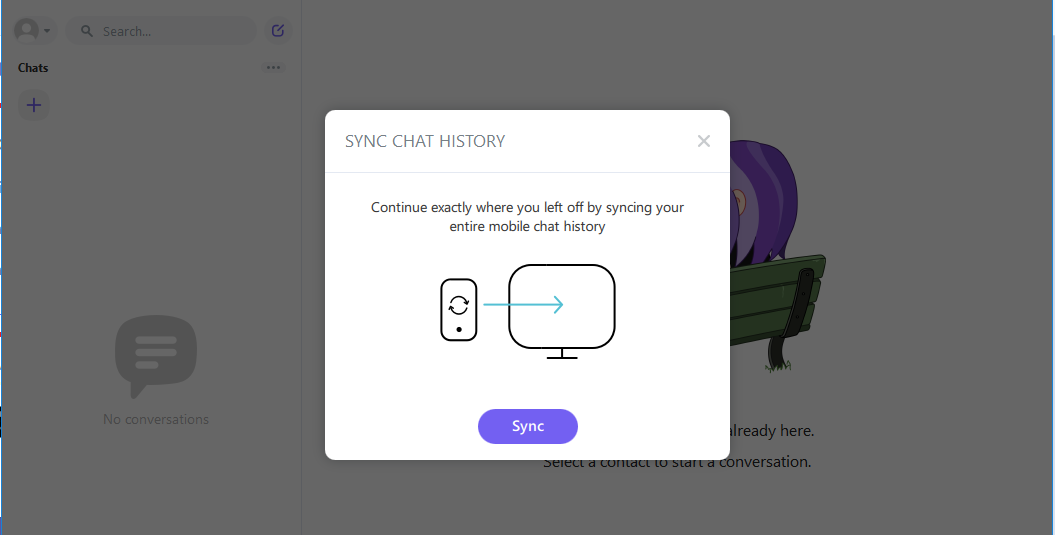
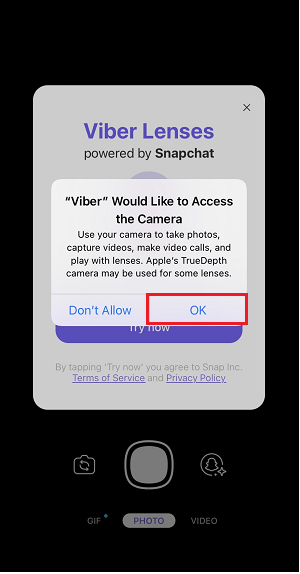
So you have created the Viber account, Viber announces that you want to access contacts, camera,… Soon, you can use the Viber account to call and message your favorite person.
How to use Viber features
How to make free calls with Viber
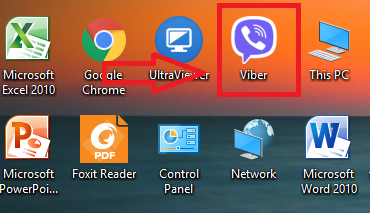
Step 1: Open the Viber app on your phone or on your computer.
Step 2: Search for the name of the person you want to call.
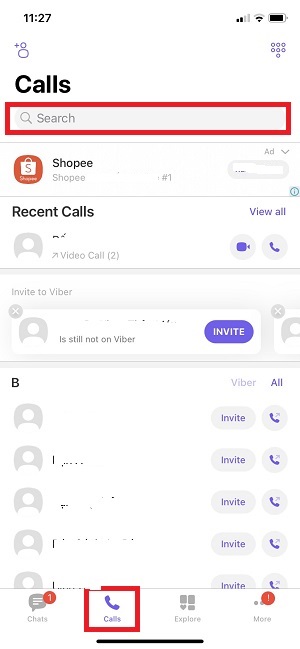
Step 3: Next, you can make a regular call, or Video Call, or text the person you want.
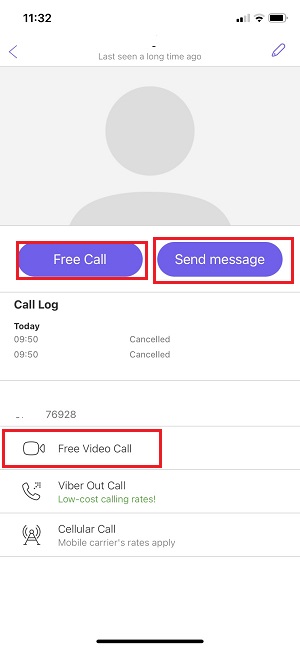
Send Message ….
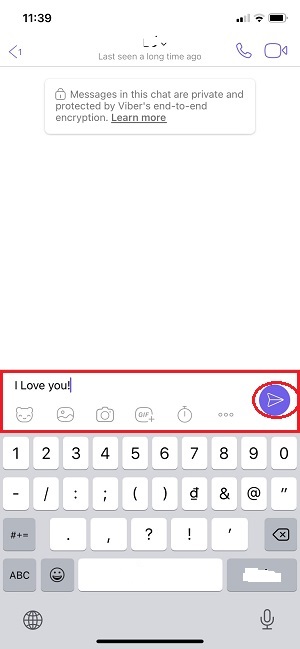
Note, to use Viber’s functions, your device needs to be connected to the Internet. In particular, you do not have to pay any costs.
The above article helped you understand Viber, how to install and some of Viber’s basic use features. In addition, there are many interesting features that need to be discovered.
Stay tuned for our next posts!
We have tried to provide the most detailed instructions in the hope of helping the best we can. If you have any further questions, feel free to contact us!